
Rust-Oleum Projects
Festive Wood Tealight Centrepiece
Browse Projects
-
 Wooden Christmas Tree Card Holder
 -
 Glitter Spray Painted Pumpkins
-
Estimated Time
3 Hours
-
Challenge Level
Intermediate
-
Tools & Supplies
-
Tack Cloth
-
2inch Foam Brush
-
Clean shop towels
-
One scrap piece of 2x4 or a 4x4 – 16” long
-
Mitre saw (circular saw will also work)
-
Drill or drill press
-
1 5/8” Forstner bit
-
Random orbital sander
-
80 and 120-grit sandpaper

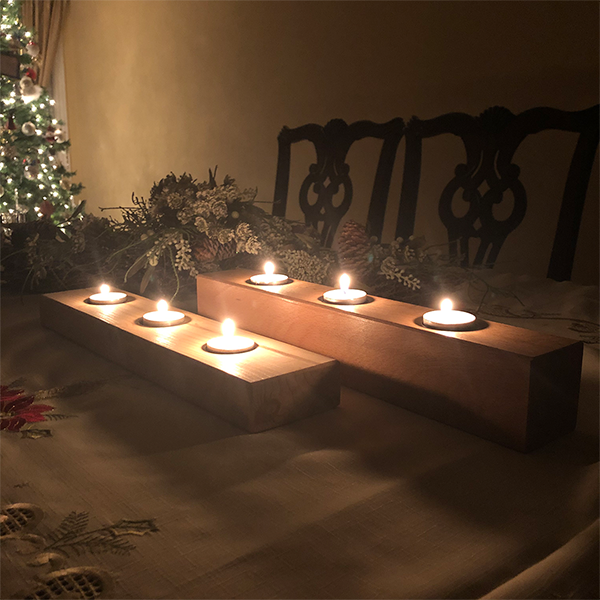
Step 1: Take your scrap piece of 2x4 and, using your mitre saw, cut it to your desired length. For this build, we cut at 16” long which allows for 3 tealights, but you can customize the length of your centrepiece to fit as many tealights as you’d like.
Note: Be sure to avoid using pressure treated lumber. Pressure treated wood has been treated for outdoor use and is not suitable for DIY projects.
Step 2: A standard tealight (both real and battery operated) is 1 ½” in diameter. For this project, the tealights will be spaced 4 ½” apart centre to centre. Find the centre of your 2x4, and from your centre point measure 4 ½” in each direction. In this case, the centre will be at 8”. You’ve now marked off your drilling points.
Step 3: Using a 1 5/8” Forstner bit, drill out the holes for your tealights. This will leave some airspace around your tealights, allowing them to breathe. Drill down until the top of your Forstner bit is flush with the wood.
Step 4: Use your random orbital sander to sand your piece on all sides, first with 80 grit and then again with 120 grit sandpaper. Be sure to round over any sharp edges.
Step 5: Use a piece of sandpaper to hand sand the holes for the tealights, taking extra care to round over any sharp edges.
Step 6: With a clean tack cloth, wipe away any sawdust that may be left on the piece in order to prepare it for staining.
Step 7: Using a 2” foam brush or a clean shop towel, apply a coat of your favourite Varathane wood stain and let sit for 5 minutes. In this case, we’re using Varathane Ultimate Wood Stain in Flagstone.
Step 8: Wipe away any excess stain with a clean shop towel and let dry.
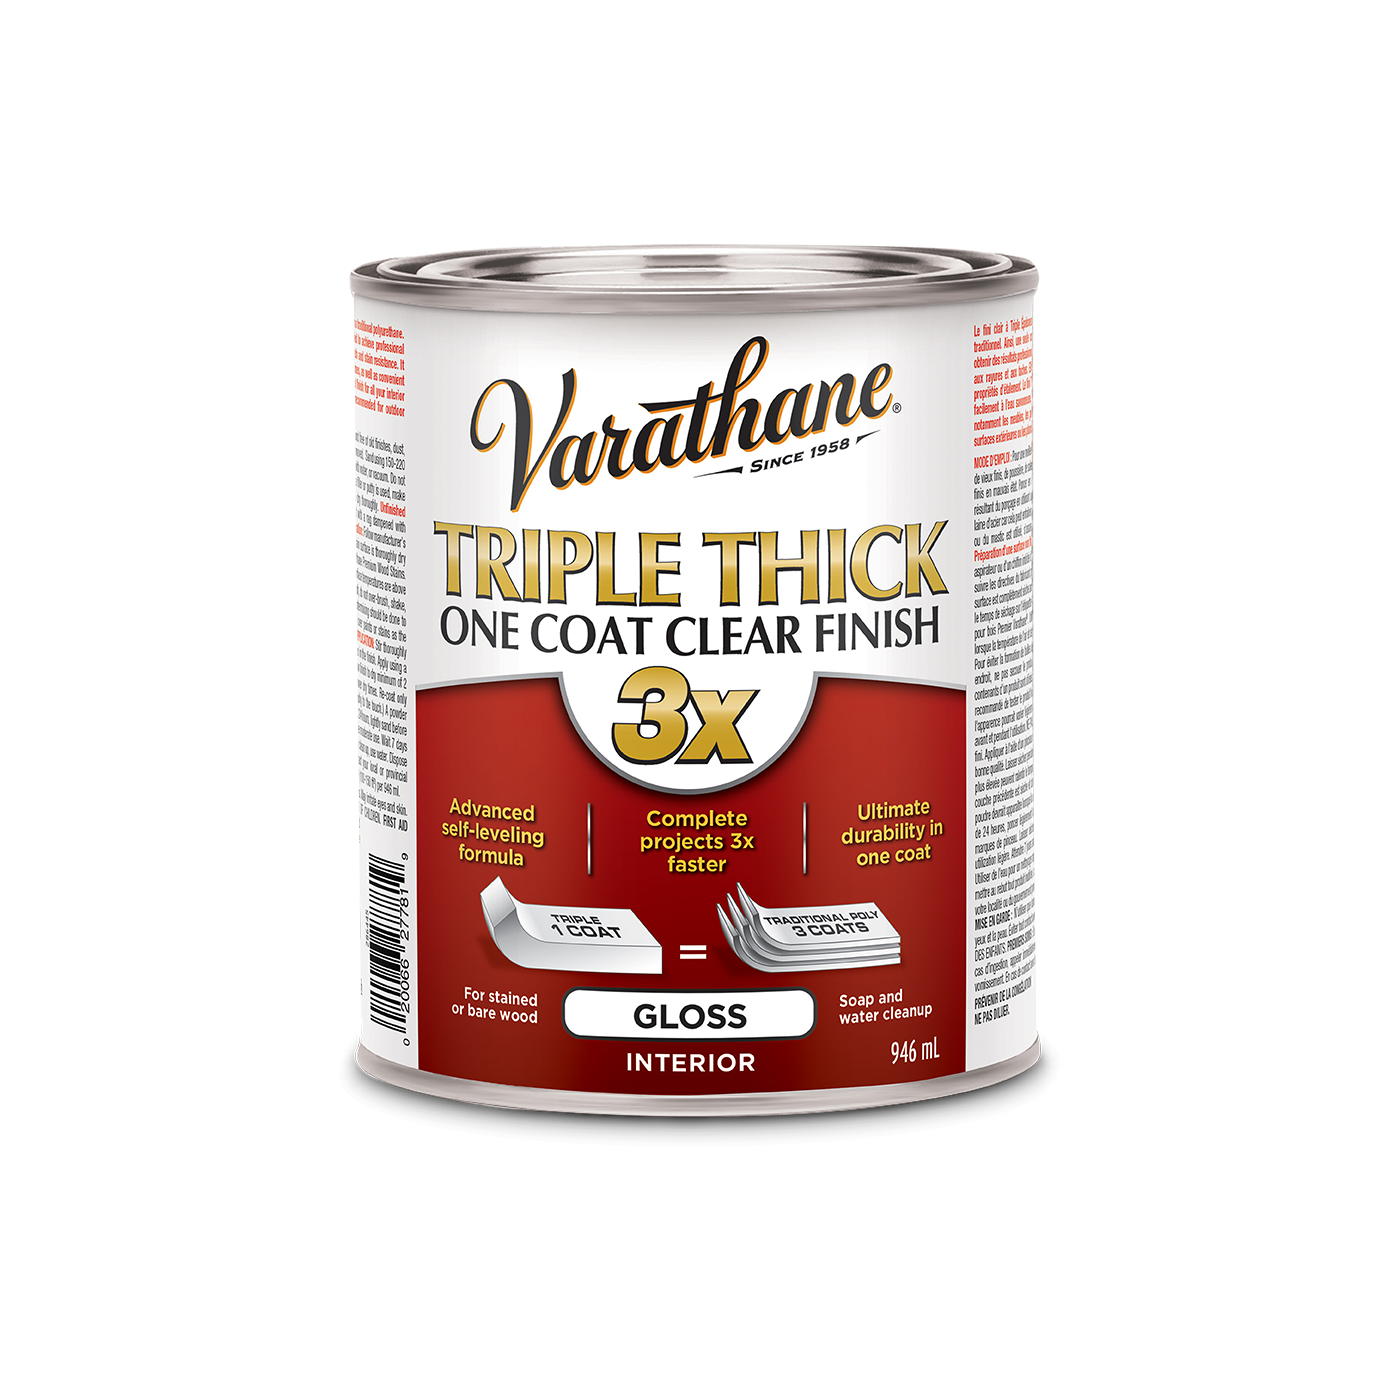
Step 9: Once the stain has dried, apply a coat of Varathane Triple Thick One Coat Clear Finish with a 2” foam brush to seal your piece.
Optional: For an even greater sheen and smooth feel, once your clear coat is dry, lightly sand with a fine-grit sandpaper and apply a second coat.
Step 10: Add tealights and enjoy.
Visit Rust-Oleum Canada and Minspired Living on Instagram for more tips and inspiration!