
Rust-Oleum Projects
Easy DIY Side Table
Browse Projects
-
 Make Your Own Hexagon Shelves
 -
 How To Build a Tic-Tac-Toe Board Game
-
Estimated Time
3 Hours
-
Challenge Level
Intermediate
-
Tools & Supplies
-
3 – 1 ½ X 6 X 20” Maple or Cherry Boards
-
4 – Metal Legs
-
16 – Number 10 Pan Head Screws
-
16 – Number 10 Washers
-
Wood Glue
-
Foam Brush
-
Measuring Tape
-
Lint Free Rag
-
Gloves
-
Sandpaper: grits 120, 150, 220
-
Clamps
-
Circular Saw or Track Saw with an Edge Guide
-
Drill or Screwdriver


Building your own side table is easier than you think! Follow these steps by Wood By Nate to do it yourself.
- Create table top by attaching maple boards together with wood glue. Secure with clamps while drying.
- Once dry, sand with 120 grit sandpaper for approximately 15 minutes.
- To ensure table top ends are even (your boards may have slid while drying), measure and mark 18” in length and trim with a circular saw.
- Sand with 150 grit and 220 grit, each for approximately 15 minutes.
- Remove excess dust with a Rust-Oleum Tack Cloth.
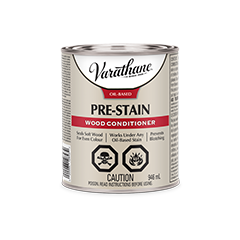
- Apply Varathane Premium Wood Conditioner and wait approximately 30 minutes or until dry.
- Apply Varathane Ultimate Wood Stain in Briarsmoke as per directions on can and wait until dry (approximately 1 hour).
- Apply Varathane Interior Diamond Wood Finish as per directions on can.
- Attach metal legs with screws and washers (hairpin legs are a great option!)
Pro Tip: Pre-drill your holes to avoid splitting the wood.
10. Enjoy!
Visit Rust-Oleum Canada and Wood By Nate on Instagram for more tips and inspiration!
#We_Wood