
Rust-Oleum Projects
How To Build a Tic-Tac-Toe Board Game
Browse Projects
-
 Easy DIY Side Table
 -
 Build a Toy Chest with a Secret LEGO Drawer
-
Estimated Time
4-5 Hours
-
Challenge Level
Intermediate
-
Tools & Supplies
-
X and O Stencils
-
1 – 4 x 4" Untreated Post
-
2 – 3 x 1" Pine Boards
-
1 1 8 of an inch x 2 x 2inch Fibreboard
-
Table Saw
-
Mitre Saw
-
Sandpaper: grits 80, 120
-
Brad Nail Gun
-
1 ½" Brad Nails
-
Tape Measure
-
Wood Glue
-
Safety Goggles
-
Respirator
-
Disc Sander (Optional)
-
Router (Optional)
-
½” Round Over Router Bit (Optional)
-
Clamps (Optional)



Gather with family and friends to enjoy a larger-than-life game of Tic-Tac-Toe thanks to Maple Works Designs!
Original plans courtesy of Her Tool Belt
Step 1: Cut wood to size as per plan from Her Tool Belt. You will end up with pieces for your frame, base, spacers and blocks.
Step 2: To assemble the game board, create 3 sides of your frame from the two 13 7/8” pieces and one of the 2 ½” x 12 3/8” pieces, attaching with wood glue and brad nails. Attach frame to fibreboard base with wood glue and brad nails.
Step 3: Begin filling in the game board with spacers by marking 3 5/8” from each end of the secured 12 3/8” frame edge. Create your first row by attaching two spacers at your marks with glue and brad nails, finishing with a long spacer attached perpendicular to the two spacers. Continue this for two more rows. Flip the game board over and add brad nails to the bottom for extra strength and durability.
Pro tip: Use extra wood the size of the spacers to stabilize pieces and ensure accurate measurements.
Step 4: Sand the game board with 120 grit sandpaper and all blocks with 80 and 120 grit sandpaper.
Step 5: Using a Rust-Oleum Tack Cloth, wipe down the game board and all blocks to remove any sawdust.
Step 6: Apply two Varathane Ultimate Wood Stain colours of your choice to game board and blocks. Let dry for one hour.
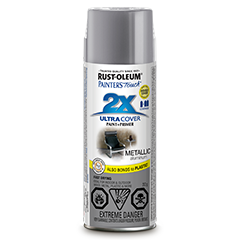
Step 7: Use X and O stencils and Painter’s Touch Ultra Cover 2X to create X’s and O’s on the opposing sides of each block.
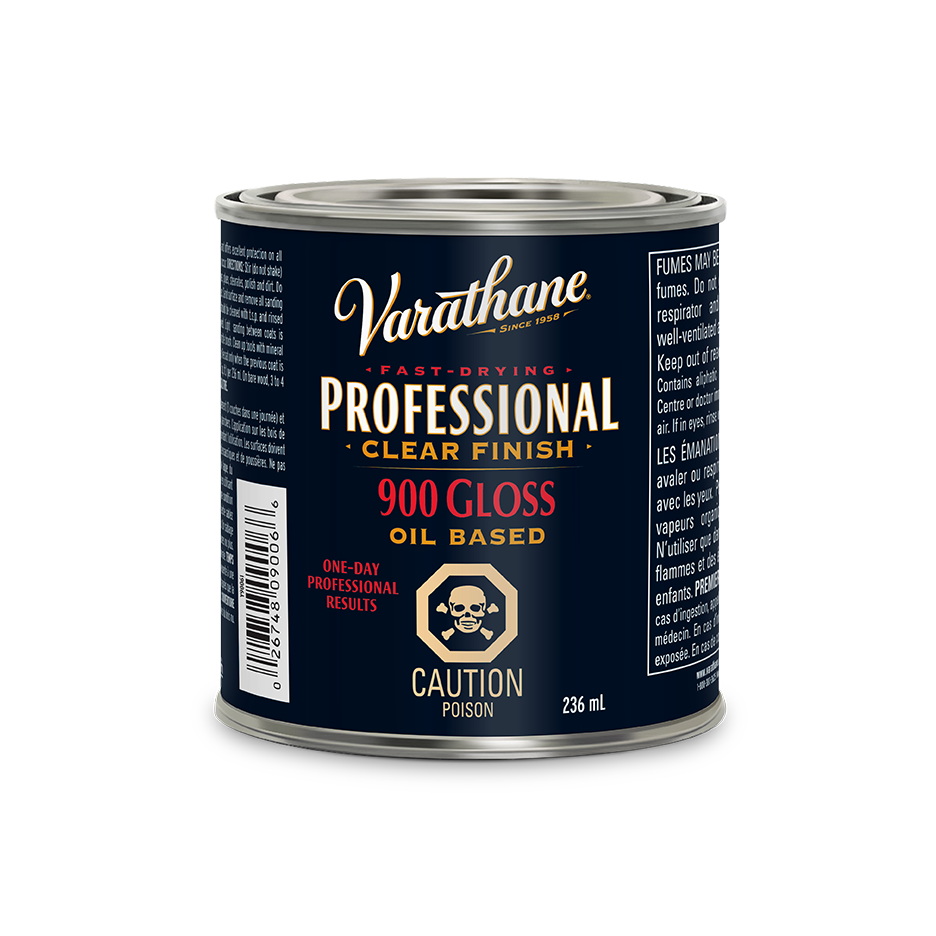
Step 8: Within one hour of applying Painter’s Touch Ultra Cover 2X, spray all sides of blocks and game board with Varathane Professional Clear Finish to seal and protect.
Optional Step: After Step 3, use a router and router table with a ½” round over bit installed to round each block’s edges.
Visit Rust-Oleum Canada’s and Maple Works Designs’ Instagram for more tips and inspiration!
#We_Wood